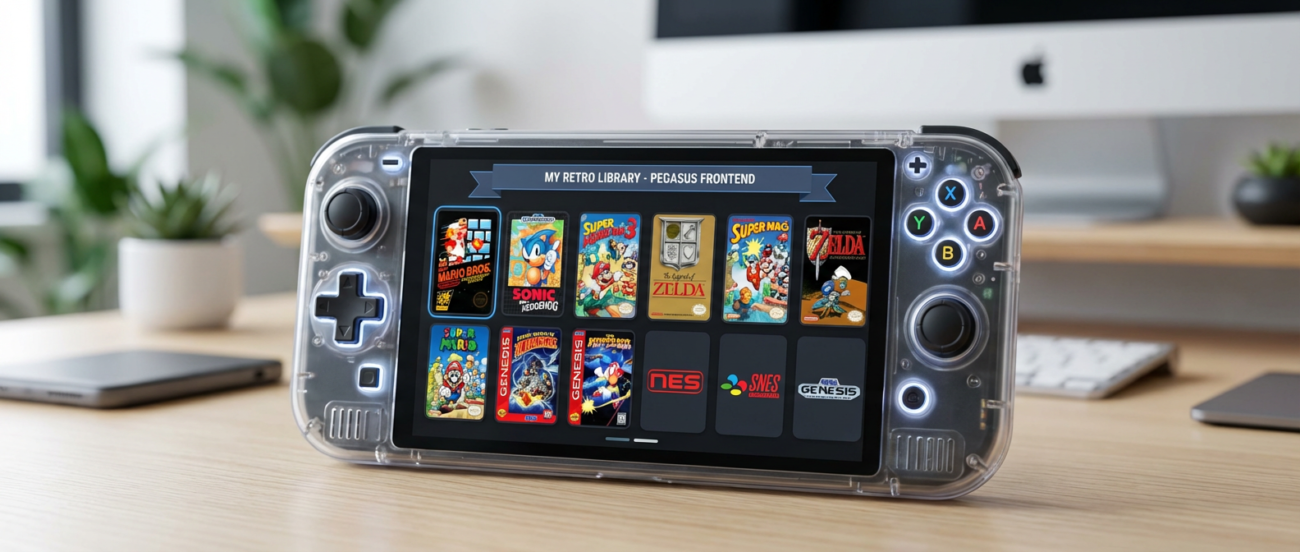
Pegasus Frontend How to Use Pegasus Frontend on Handheld Consoles (Premium Guide) Posted by gamescard4you@gmail.com June 6, 2026 On June 6, 2026 0 Share: How to Use Pegasus Frontend on Retroid, Anbernic, Odin, and Powkiddy Pegasus Frontend is a customizable interface that makes navigating your retro library simple and visually appealing. Compatible with Linux and Android handhelds, it allows you to launch games directly from a clean, organized menu. Want pre-configured Pegasus Frontend with all emulators and ROMs for RG556 ready to go?Check out Gamescard4you.com — the easiest way to have your handheld fully optimized for gaming. Step 1 — Install Pegasus Android Devices: Download APK from Pegasus official website Linux (JELOS, ArkOS, EmuELEC): Use apt or download latest .tar.gz Launch the app after installation Step 2 — Configure ROM Folders Add console ROM directories in Settings → Sources Example structure: /ROMS/NES /ROMS/SNES /ROMS/PS1 /ROMS/PS2 /ROMS/GBA Include BIOS folder if needed Step 3 — Add Emulators Go to Settings → Emulators Assign each emulator executable to its console Test launch for one game per system Step 4 — Download Artwork and Metadata Pegasus can scrape box art, banners, and screenshots Settings → Metadata → Automatic download Supports multiple databases Step 5 — Customize Interface Themes: Choose light, dark, or custom skins Layouts: Grid, list, or carousel Background: Animated or static Step 6 — Optimize Performance Reduce animation effects on low-end handhelds Enable caching of metadata for faster navigation Adjust resolution to match screen for best clarity Step 7 — Use Hotkeys Configure hotkeys for: Quick launch menu Save/Load state Fast forward Shader toggle Step 8 — Advanced Tips Combine with RetroArch playlists for automatic game detection Organize ROMs by region or genre Keep SD card backup to restore settings if needed CTA Want pre-configured Pegasus Frontend with all emulators and ROMs for RG556 ready to go?Check out Gamescard4you.com — the easiest way to have your handheld fully optimized for gaming. Newer Transform Your AYN Odin 2 with the Amazing ROCKNIX TF Game Card – Plug & Play Retro OS” Back to list Older Odin 2 – Complete Android Setup Tutorial (Premium Guide) Related posts 06 Jun AYN Odin Transform Your AYN Odin 2 with the Amazing ROCKNIX TF Game Card – Plug & Play Retro OS” Posted by gamescard4you@gmail.com June 6, 2026 0 Continue reading 06 Jun Pegasus Frontend How to Use Pegasus Frontend on Handheld Consoles (Premium Guide) Posted by gamescard4you@gmail.com June 6, 2026 0 Continue reading 06 Jun AYN Odin Odin 2 – Complete Android Setup Tutorial (Premium Guide) Posted by gamescard4you@gmail.com June 6, 2026 0 Continue reading 06 Jun Powkiddy Powkiddy RGB30 – Best Settings Guide Posted by gamescard4you@gmail.com June 6, 2026 0 Continue reading 06 Jun Anbernic How to Set Up Anbernic RG35XX-H System Card Posted by gamescard4you@gmail.com June 6, 2026 0 Continue reading 06 Jun Retroid Pocket Retroid Pocket 5 – Complete Starter Guide Posted by gamescard4you@gmail.com June 6, 2026 0 Continue reading 06 Jun Anbernic The Best Anbernic Handheld Consoles for 2026 Gaming – Complete Guide Posted by gamescard4you@gmail.com June 6, 2026 0 Continue reading 06 Jun Retroid Pocket Best Retroid Pocket Handheld Consoles 2026 – Top Picks for Retro Gaming Posted by gamescard4you@gmail.com June 6, 2026 0 Continue reading 03 Nov Reviews Top 5 Most Powerful Vertical Vacuum Cleaners Posted by gamescard4you@gmail.com November 3, 2025 0 Continue reading 27 Oct Reviews How Do I Share Apple AirTag With Other Users? Posted by gamescard4you@gmail.com October 27, 2025 0 Continue reading 20 Oct Reviews Top Smart Watches 2025: Rating of the Best Models Posted by gamescard4you@gmail.com October 20, 2025 0 Continue reading 13 Oct Reviews Best Tablets for Work and Entertainment in 2023 Posted by gamescard4you@gmail.com October 13, 2025 0 Continue reading Leave a Reply Cancel replyYour email address will not be published. Required fields are marked *Comment * Name * Email * Website Save my name, email, and website in this browser for the next time I comment.
06 Jun AYN Odin Transform Your AYN Odin 2 with the Amazing ROCKNIX TF Game Card – Plug & Play Retro OS” Posted by gamescard4you@gmail.com June 6, 2026 0 Continue reading
06 Jun Pegasus Frontend How to Use Pegasus Frontend on Handheld Consoles (Premium Guide) Posted by gamescard4you@gmail.com June 6, 2026 0 Continue reading
06 Jun AYN Odin Odin 2 – Complete Android Setup Tutorial (Premium Guide) Posted by gamescard4you@gmail.com June 6, 2026 0 Continue reading
06 Jun Powkiddy Powkiddy RGB30 – Best Settings Guide Posted by gamescard4you@gmail.com June 6, 2026 0 Continue reading
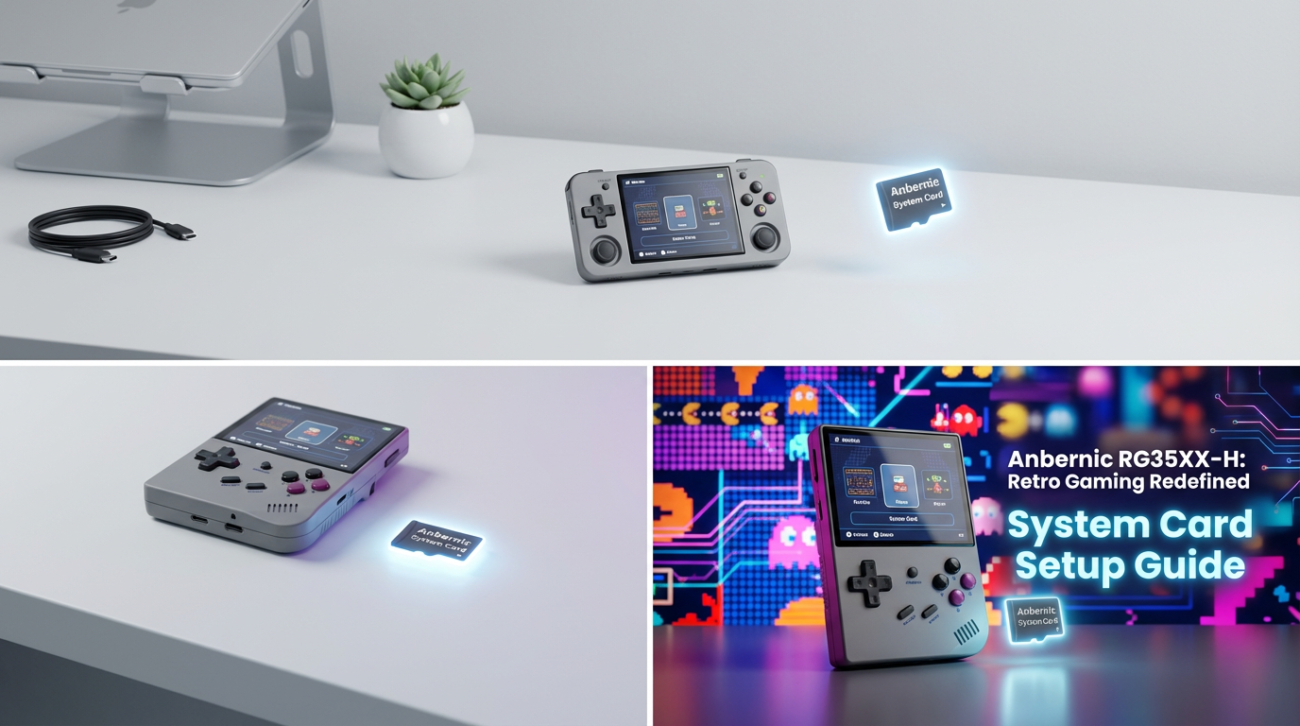
06 Jun Anbernic How to Set Up Anbernic RG35XX-H System Card Posted by gamescard4you@gmail.com June 6, 2026 0 Continue reading
06 Jun Retroid Pocket Retroid Pocket 5 – Complete Starter Guide Posted by gamescard4you@gmail.com June 6, 2026 0 Continue reading
06 Jun Anbernic The Best Anbernic Handheld Consoles for 2026 Gaming – Complete Guide Posted by gamescard4you@gmail.com June 6, 2026 0 Continue reading
06 Jun Retroid Pocket Best Retroid Pocket Handheld Consoles 2026 – Top Picks for Retro Gaming Posted by gamescard4you@gmail.com June 6, 2026 0 Continue reading
03 Nov Reviews Top 5 Most Powerful Vertical Vacuum Cleaners Posted by gamescard4you@gmail.com November 3, 2025 0 Continue reading
27 Oct Reviews How Do I Share Apple AirTag With Other Users? Posted by gamescard4you@gmail.com October 27, 2025 0 Continue reading
20 Oct Reviews Top Smart Watches 2025: Rating of the Best Models Posted by gamescard4you@gmail.com October 20, 2025 0 Continue reading
13 Oct Reviews Best Tablets for Work and Entertainment in 2023 Posted by gamescard4you@gmail.com October 13, 2025 0 Continue reading
")