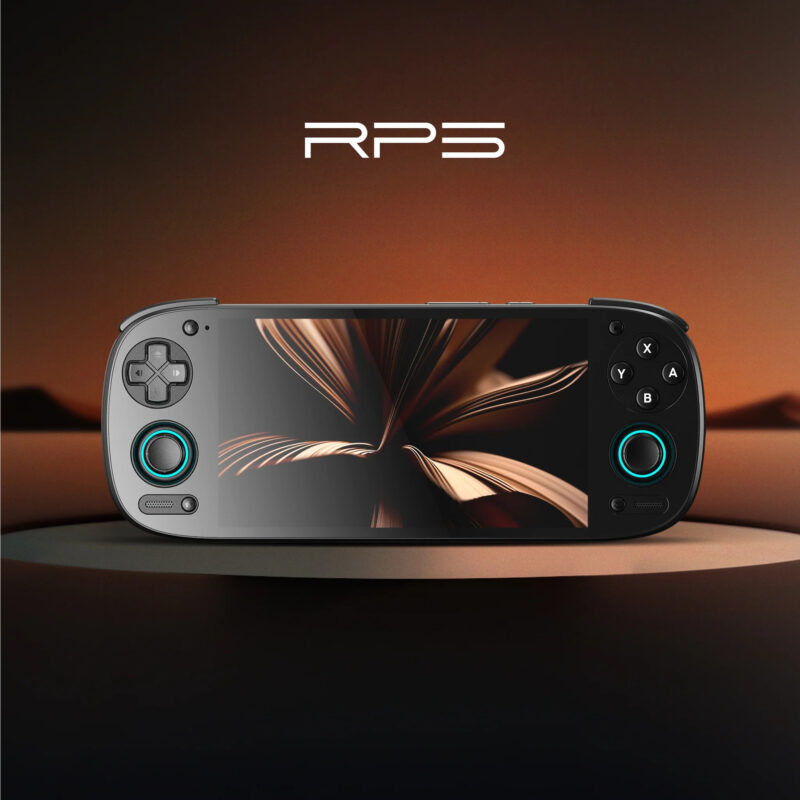
Retroid Pocket 5 Complete Starter Guide (2026 Edition)
The Retroid Pocket 5 has quickly become one of the most popular handhelds in the retro gaming world, offering a balanced mix of power, portability, and customization. Whether you are new to Android-based handhelds or upgrading from a previous Retroid model, this comprehensive starter guide will walk you through everything you need to know — from initial setup to emulator configuration, recommended apps, and optimizing performance.
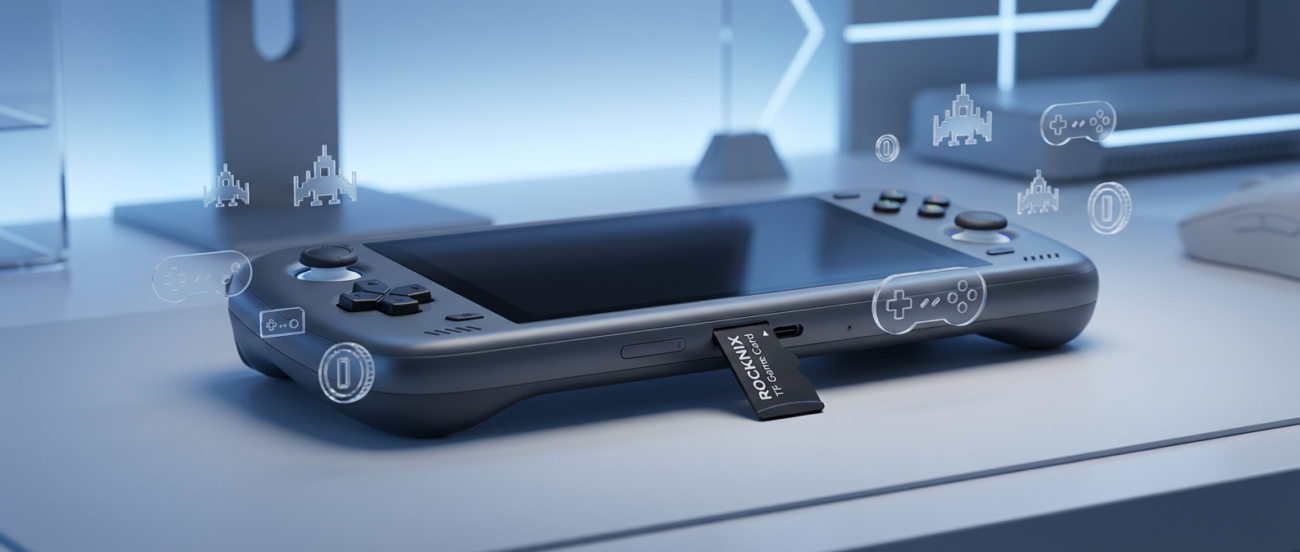
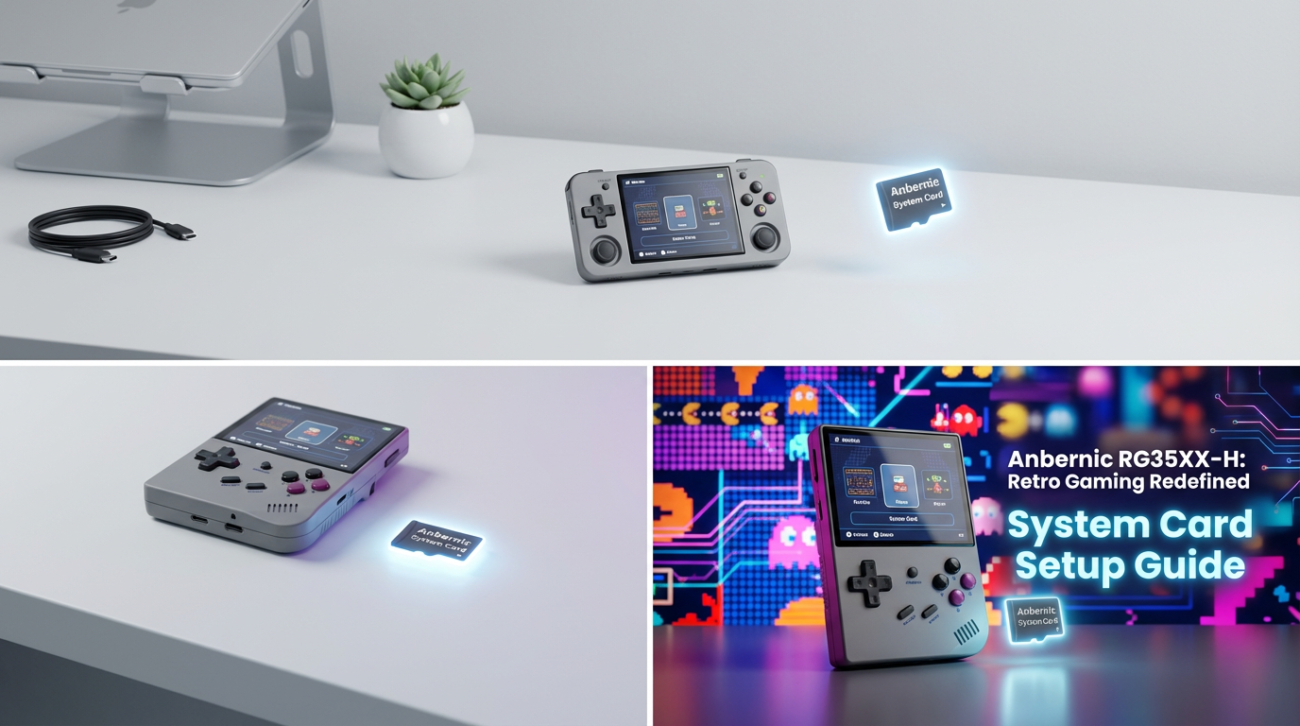
If you want the best plug-and-play experience, check out our preconfigured game cards for Retroid Pocket 5 — optimized, organized, and ready to play.
Unboxing and First Steps
What’s Included in the Box
Your Retroid Pocket 5 package typically contains:
- The handheld console
- USB-C charging cable
- Screen protector
- User manual
- Optional case if purchased separately
Before powering the device, make sure the SD card slot and buttons are clean and free of dust.
First Boot Setup
When you turn on your Retroid Pocket 5 for the first time, you’ll be guided through:
- Language selection
- WiFi connection
- Google login
- Screen calibration
- Launcher selection (Retroid Launcher vs classic Android UI)
For beginners, the Retroid Launcher is easier to use, while advanced users may prefer the full Android interface.
Installing Essential Apps and Updates
System Update
Go to:
Settings → System → System Update
Always install the latest firmware for improved stability and emulator compatibility.
H3: Must-Have Applications
Here are the core apps every Retroid Pocket 5 user needs:
- RetroArch – multi-system emulator
- DuckStation – best for PS1
- PPSSPP – PSP emulation
- Dolphin MMJR or Dolphin Android – GameCube/Wii
- AetherSX2 (archived) or PCSX2 Mobile (when available) – PS2
- Yuzu & Ryujinx Android builds (if compatible) – Nintendo Switch (experimental)
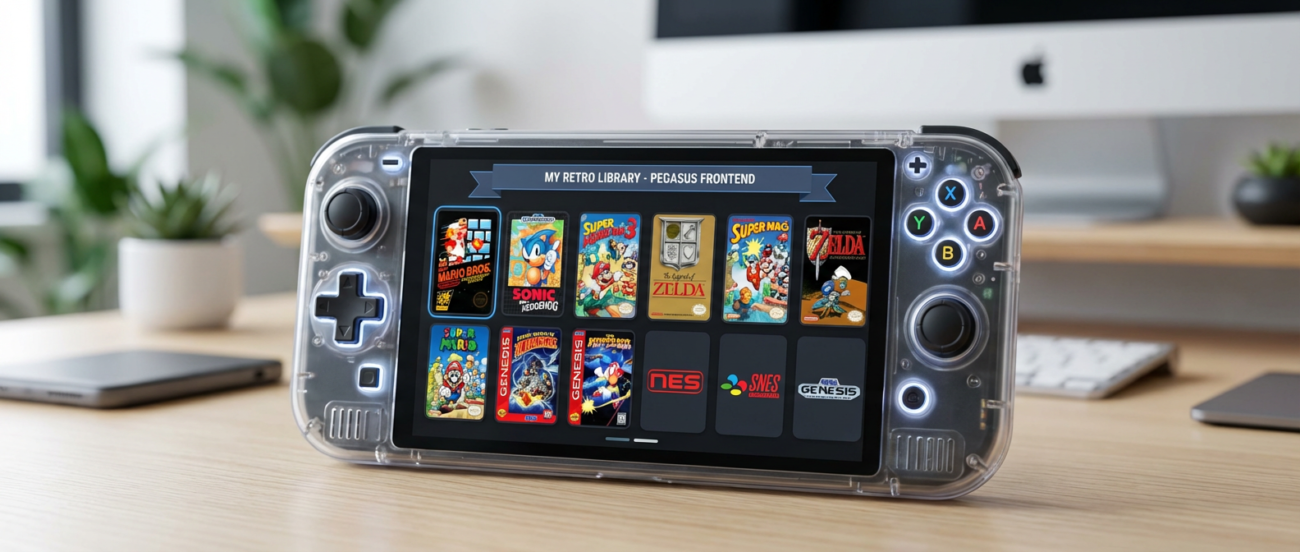
- Daijisho or Pegasus Frontend – beautiful frontend for organizing games
Optional tools:
- SD Maid
- 7Zipper
- File Manager+
- Screen Recorder
If you want the best plug-and-play experience, check out our preconfigured game cards for Retroid Pocket 5 — optimized, organized, and ready to play.
Preparing Your SD Card
Which SD Card to Choose
For best results:
- 128GB, 256GB , 512GB or 1T
- A2-rated microSD card
If you want the best plug-and-play experience, check out our preconfigured game cards for Retroid Pocket 5 — optimized, organized, and ready to play.
Folder Organization
Use a clean and readable folder structure such as:
/Roms/PS1
/Roms/PSP
/Roms/N64
/Roms/GBA
/BIOS
/Emulators
Add BIOS files only where legally permitted.
If you want the best plug-and-play experience, check out our preconfigured game cards for Retroid Pocket 5 — optimized, organized, and ready to play.
Setting Up Emulators (Optimal Settings Included)
RetroArch Setup
Inside RetroArch:
- Enable “Vulkan” video driver
- Turn on “Threaded Video”
- Use integer scaling for pixel-perfect handheld systems
Recommended cores:
- NES → FCEUMM
- SNES → Snes9x
- GBA → mGBA
- DS → MelonDS
DuckStation (PS1) Best Settings
- Renderer: Vulkan
- Internal Resolution: 3× or 4×
- Texture Filtering: Bilinear
- Widescreen Hack: Optional
PPSSPP (PSP) Best Settings
- Rendering Mode: Vulkan
- Resolution: 2× or 3×
- Lazy Texture Caching: ON
- Fast Memory: ON
- Frameskip: OFF
Connecting Controllers and Accessories
The Retroid Pocket 5 supports:
- Bluetooth controllers
- Wired USB-C controllers
- 8BitDo controllers
- HDMI output (if dock supports it)
Troubleshooting Common Issues
Lag or Stuttering
- Lower internal resolution
- Switch to Vulkan
- Close background apps
WiFi Issues
- Forget network → reconnect
- Switch between 2.4GHz and 5GHz
- Reboot device
Final Tips for the Best Experience
- Keep firmware updated
- Use a quality SD card
- Back up your data
- Use frontends for a cleaner UI
If you want the best plug-and-play experience, check out our preconfigured game cards for Retroid Pocket 5 — optimized, organized, and ready to play.